Kotlin is now the official language of the Android application. We can convert our existing Android code (or application) to kotlin. It’s important to upgrade your programming language nowadays. It’s expressive, concise, powerful, and interoperable with our existing Android languages and runtime. In this tutorial, you will learn how to Build Your First Android App.

Developing an Android app with kotlin is much easier and have many benefits, which we will discuss other articles. For now, we are developing android basic(first app) with Kotlin.
Here is some easy Steps Build Your First Android App in Kotlin :
1. Download and Install android studio
2. Launch android studio

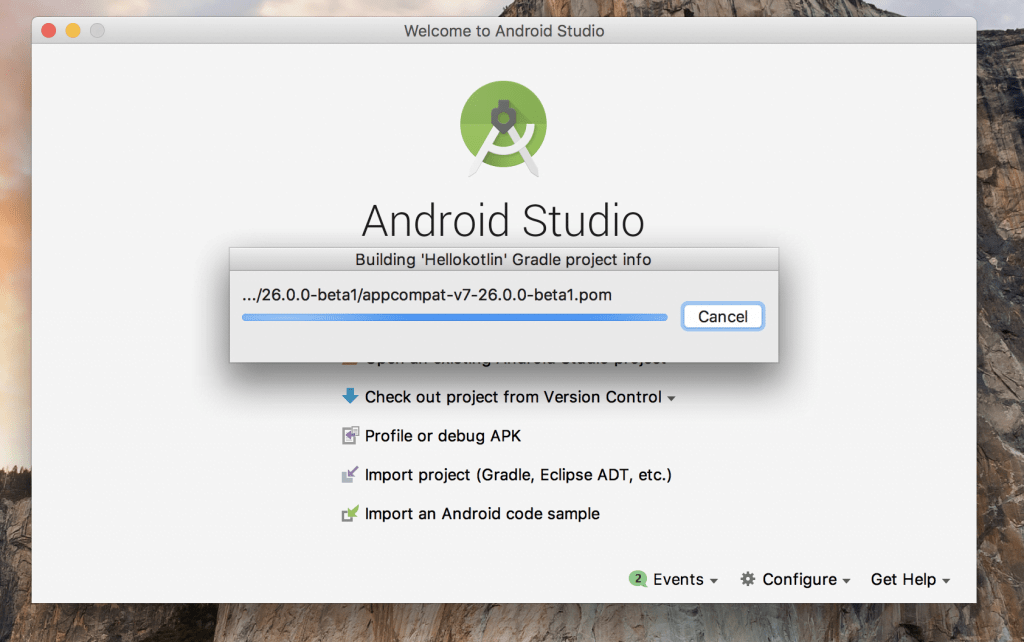
3. Click on “Start a new Android Studio project”

Fill the details of the project.
- Application name
- company domain
- project location
- check “Include kotlin support“
Click next

Select API and android version …click next

Select “Empty Activity” for now …click next (will build project)
After creating process has finished you can see project structure

4. Run android application
click on the run button and launch the application in the emulator (AVD- android virtual device)

5. Output screen in Android emulator

The source is not needed, it’s a just basic programme.
Note: This example (Project) is developed in Android Studio 3.0.1 ,tested on Android 7.1.1 ( Android Nougat), build-tools version 26.0.1
MinSdkVersion=”15″
TargetSdkVersion=”26″
Coding in Kotlin